Build agents and prompts in AI Toolkit
Agent Builder was previously known as Prompt Builder. The name has been changed to better reflect the feature's capabilities and its focus on building agents.
Agent Builder in AI Toolkit streamlines the engineering workflow for building agents, including prompt engineering and integration with tools, such as MCP servers. It helps with common prompt engineering tasks:
- Generate starter prompts
- Iterate and refine with each run
- Break down complex tasks through prompt chaining and structured outputs
- Provide easy access to code for seamless Large Language Model (LLM) integration via APIs
Agent Builder also enhances intelligent app's capabilities with tool use:
- Connect to existing MCP servers
- Build a new MCP server from scaffold and test in Agent Builder

Create, edit, and test prompts
To access Agent Builder, use either of these options:
- In the AI Toolkit view, select Agent (Prompt) Builder
- Select Try in Agent (Prompt) Builder from a model card in the model catalog
To test a prompt in Agent Builder, follow these steps:
-
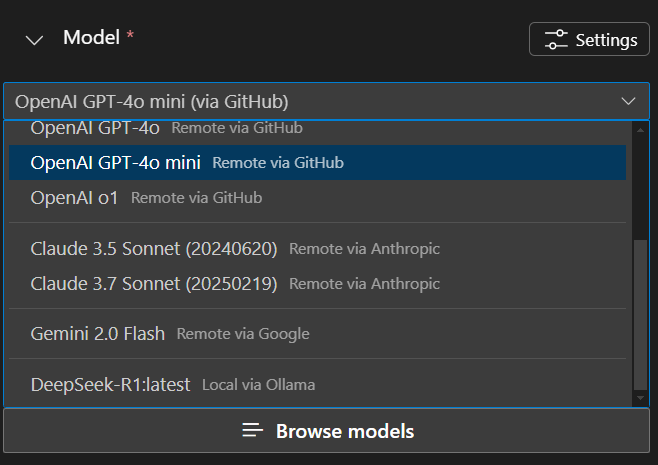
In Models, select a model from the dropdown list, or select Browse models to add another model from the model catalog.
-
Enter a User prompt and optionally enter a System prompt.
The user prompt is the input that you want to send to the model. The optional system prompt is used to provide instructions with relevant context to guide the model response.
TipYou can describe your project idea by using natural language and let the AI-powered feature generate the prompts for you to experiment with.

-
Select Run to send the prompts to the selected model.
-
Optionally, select Add Prompt to add more user and assistant prompts to the conversation, or select Add to Prompts as the history and context you send to the model to further guide the model's behavior.
-
Repeat the previous steps to iterate over your prompts by observing the model response and making changes to the prompts.
Use MCP servers
MCP server is a tool that allows you to connect to external APIs and services, enabling your agent to perform actions beyond just generating text. For example, you can use an MCP server to access databases, call web services, or interact with other applications.
You can use the agent builder to discover and configure featured MCP servers, connect to existing MCP servers or build a new MCP server from scaffold.
Using MCP servers may require either Node or Python environment. AI Toolkit will validate your environment to ensure that the required dependencies are installed.
After installing, please use the command npm install -g npx to install npx. If you prefer Python, we recommend using uv
Configure a featured MCP server
AI Toolkit provides a list of featured MCP servers that you can use to connect to external APIs and services.
To configure an MCP server from featured selections, follow these steps:
- In the Tools section, select + MCP Server, and then select + Add server in the Quick Pick.
- Select Use Featured MCP Servers from the dropdown list.
- Choose an MCP server that meets your needs.

For servers that are ready to use, AI Toolkit will prompt you to select tools and add to your agent afterwards.
For servers that are marked with (Configuration Required):
- You will be prompted to enter the required configurations in the
mcp.jsonfile.
- Follow the guidelines to configure the server:
- After finishing the configuration, go back to Agent Builder and select + MCP Server to locate the server you added from the list.
- Select the server and proceed to add tools.
Use an existing MCP server
To use an existing MCP server, follow these steps:
- In the Tools section, select + MCP Server, and then select + Add server in the quick pick.
- Select Connect to an Existing MCP Server
- Select an option from the dropdown list to specify how you want to connect to the MCP server:
- Command (stdio): Run a local command that implements the MCP protocol
- HTTP (server-sent events): Connect to a remote server that implements the MCP protocol
- Select tools from the MCP server if there are multiple tools available.
- Enter your prompts and select Run to test the connection.

AI Toolkit also provides a scaffold to help you build a new MCP server. The scaffold includes a basic implementation of the MCP protocol, which you can customize to suit your needs.
Build a new MCP server
To build a new MCP server, follow these steps:
- In the Tools section, select + MCP Server, and then select + Add server in the quick pick.
- Select Create a New MCP Server
- Select a programming language from the dropdown list: Python or TypeScript
- Select a folder to create the new MCP server project in.
- Enter a name for the MCP server project.

After you create the MCP server project, you can customize the implementation to suit your needs. The scaffold includes a basic implementation of the MCP protocol, which you can modify to add your own functionality.
You can also use the agent builder to test the MCP server. The agent builder will send the prompts to the MCP server and display the response.
Follow these steps to test the MCP server:
To run the MCP Server in your local dev machine, you will need: Node.js or Python installed on your machine.
- Open VS Code Debug panel. Select
Debug in Agent Builderor pressF5to start debugging the MCP server. - Use AI Toolkit Agent Builder to test the server with the following prompt:
- System Prompt: You are a weather forecast professional that can tell weather information based on given location.
- The server will be automatically connected to Agent Builder.
- Select
Runto test the server with the prompt.

Structured output
Structured output support helps you design prompts to deliver outputs in a structured, predictable format.

To test using structured output in Agent Builder, follow these steps:
-
Select the Structure output from the left area, and select json_schema.
-
Select Prepare schema, and then select Select local file to use your own schema, or select Use an example to use a predefined schema.
If you proceed with an example, you can select a schema from the dropdown list.
-
Select Run to send the prompts to the selected model.
-
You can also edit the schema by selecting name of the schema.

Integrate prompt engineering into your application
After experimenting with models and prompts, you can get into coding right away with the automatically generated Python code.

To view the Python code, follow these steps:
-
Select View Code.
-
For models hosted on GitHub, select the inference SDK you want to use.
AI Toolkit generates the code for the model you selected by using the provider's client SDK. For models hosted by GitHub, you can choose which inference SDK you want to use: Azure AI Inference SDK or the SDK from the model provider, such as OpenAI SDK or Mistral API.
-
The generated code snippet is shown in a new editor, where you can copy it into your application.
To authenticate with the model, you usually need an API key from the provider. To access models hosted by GitHub, generate a personal access token (PAT) in your GitHub settings.
Next steps
- Run an evaluation job for the popular evaluators